Sunday, 13 March 2016

Design Task: A Tree With Character

http://www.tripadvisor.com/LocationPhotoDirectLink-g32908-d124505-i58678961-Point_Reyes_Lighthouse-Point_Reyes_Station_Marin_County_California.html (06/03/2016)
https://roadtrippers.com/stories/8-cool-trees-that-defy-belief (06/03/2016)
http://www.alansblog.org.uk/?p=3561 (06/03/2016)
http://ankit0621.blogspot.co.uk/2013/09/trees-with-character.html (06/03/2016)
https://www.pinterest.com/kaydelong/trees-with-character/ (06/03/2016)
http://www.theeclecticblog.net/tag/trees-with-character/ (06/03/2016)

 After this I produced 3 sketches of trees, using this moodboard for inspiration. Then scanned them in for later reference:


Out of these ideas, I took the shape of the tree at the bottom and attempted to experiment with digital painting:


I am proud with how this came out as I don't make art by painting alone, so this was a challenge. It is evident that I found it difficult to produce a clear form without the use of lineart, and as a result the depth seems rather confusing and flat. But I do feel that the crater in the middle of the tree makes a good focal point and is my favourite part of this image.

Friday, 11 March 2016

Battle Arena Statue: UV Mapping, Texturing And Quixel

After having finished the 3D model as well as a prop sword, I had to UV map it by slicing pieces of the model int "Shells", with these I had to split and combine the UVs of the model into a sheet that can be used for texturing by exporting it into a UV Snapshot. For this statue I did flat colours for the texture at first then realised I can take it into Quixel Suite to add believable stone textures, here are the flat coloured textures:


At first I was intending to entirely texture the model by painting it, then overlaying it with a stone texture, however after using Quixel I could achieve this effect in an easier and faster way:


Using this I achieved a weathered stone statue appearance, after this I will rig my model and import it into unity and pose it.

Wednesday, 9 March 2016

Life Drawing Task 17

For our last session, our model was clothed, and just like every session we did some quick sketches:


After this we drew the model holding a broom to achieve perspective, and even tried mixed media:


Overall drawing the model clothed was an interesting experience, the detail on the clothes was a bit hard at first but I feel that it was quite useful to know how to draw folds and such. I believe that these sessions were fairly useful for practicing, however I did feel that they got a bit too repetitive after a while and that the clothed model added a new angle, but I do feel grateful for getting this experience.

Monday, 7 March 2016

Form Language

In this session we watched a video about form language, and produced designs based on what we learned, first of all I designed construction vehicles using straight lines and triangles:


Next I did the same with circles and flowing lines:


I feel that combining these two extremes with this knowledge will be useful in creating interesting designs.

Friday, 4 March 2016

Group Project: Beta Build

For this milestone I was able to quickly finish up the flow of the game. Although some things are missing such as sounds, sprites and an ending; The way this game has been programmed is to build an engine then add something to do. Below are some screenshots of this beta build:

The title screen has been fixed. The difficulty was just for experimentation.

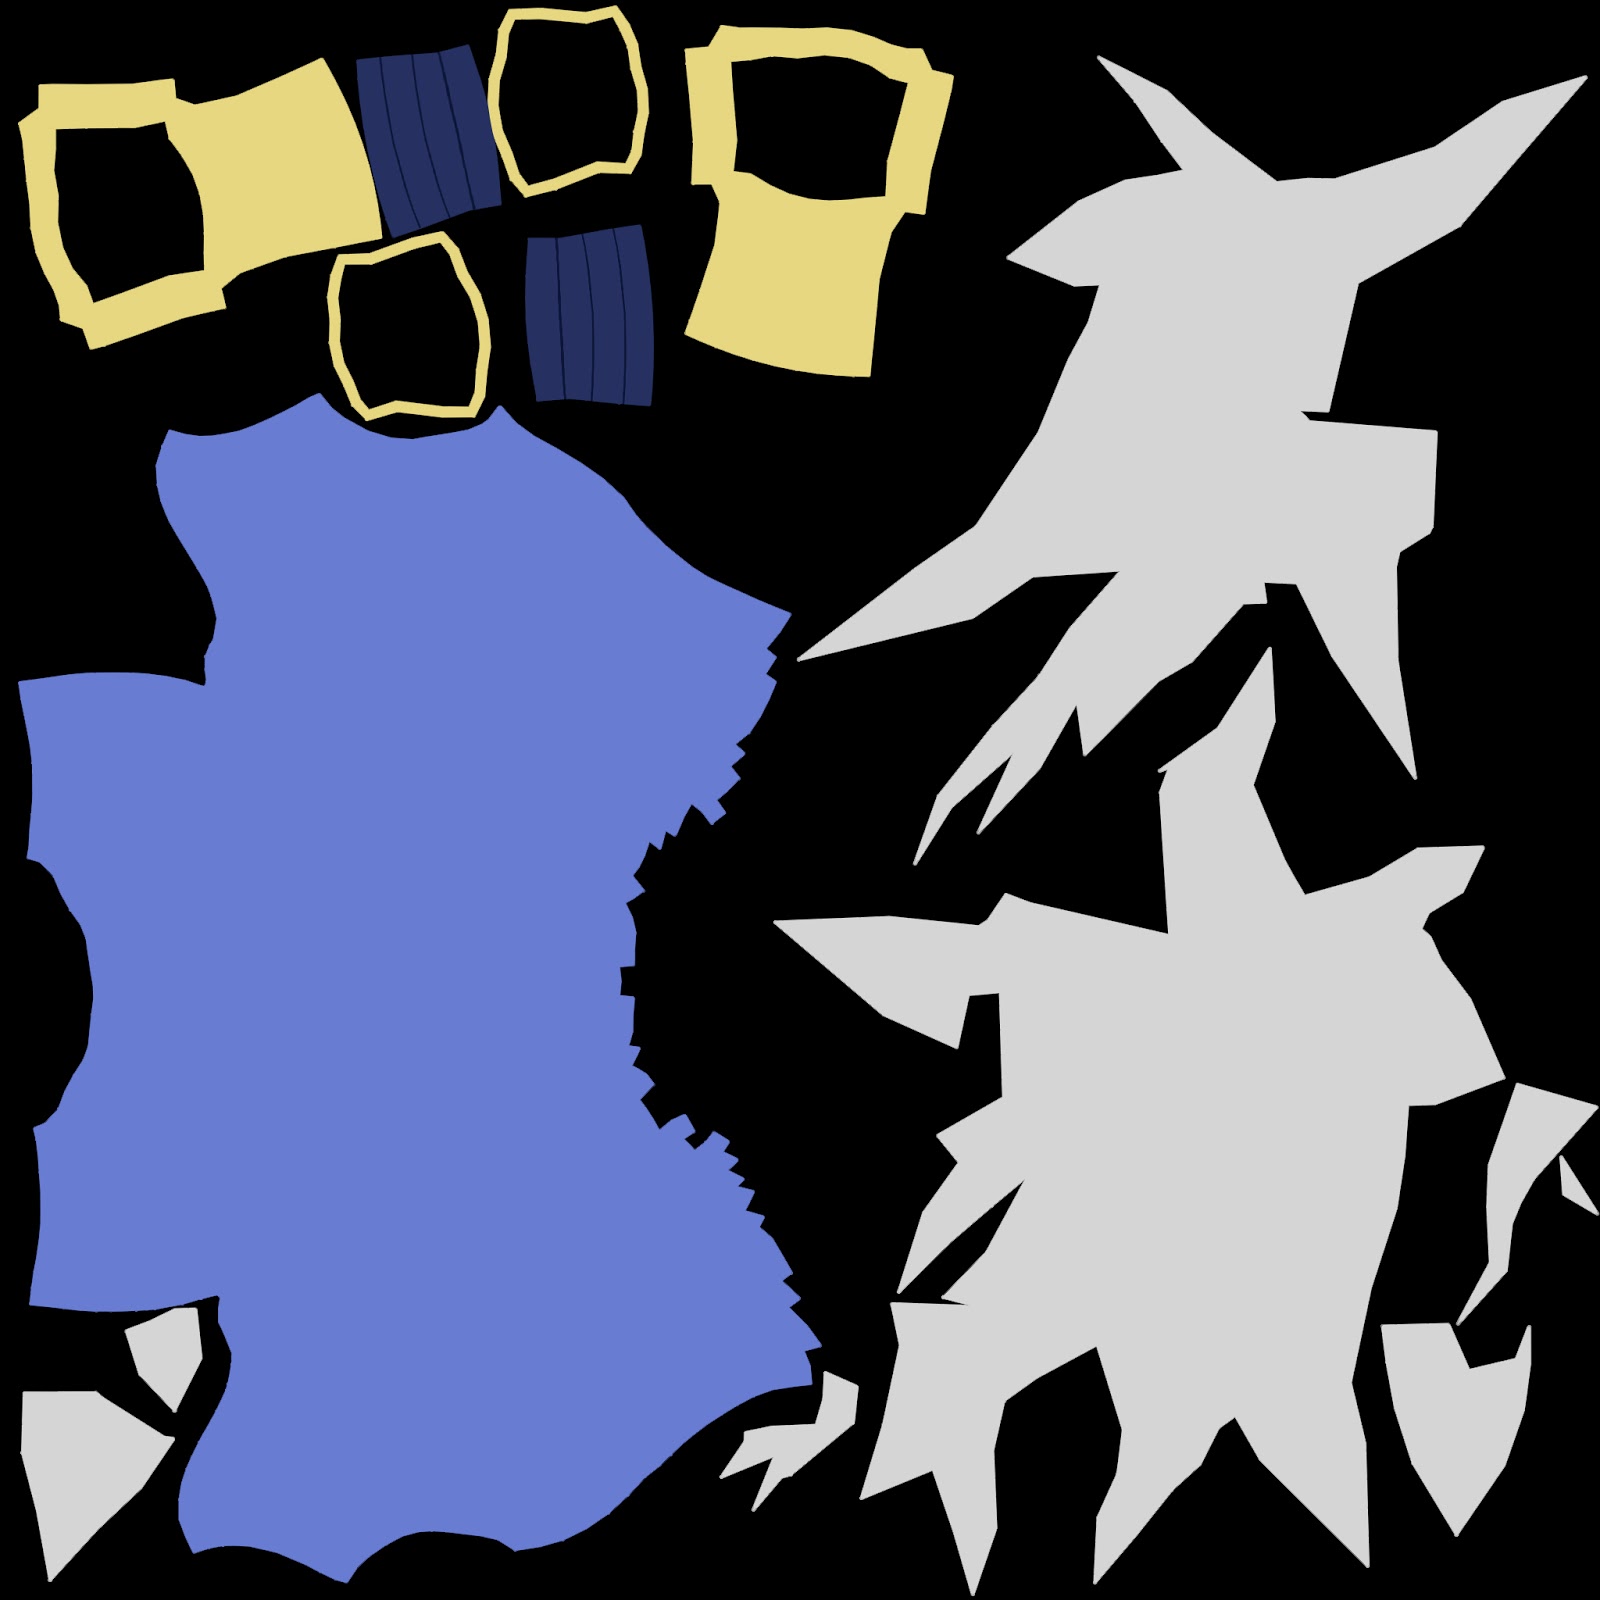
The game begins with Marie falling, at the moment there's no sprite or sound for that yet.

The game features a dialogue system with avatars as well.
The player can move rooms by clicking on entrances. Marie also has a walking animation for left and right, up and down animations aren't confirmed yet.

Reggie will talk to the player when they enter this room for the first time, to talk to them again they must use the "Interact" action on them. The door going left is locked.

Going up will take the player to a room with the sludge monster.

Clicking them will bring up their stats, and the player can choose which weapon to use. The player cannot fight without a weapon selected.

Going up again will take the player to a room with 2 chests, one with a sewing kit and one with a cheap umbrella, the player's animation for opening the chest is the same for picking up items off the floor.

The player can select the weapon and fight.

THe fight now takes place in the same scene, and can even involve turns and hitting multiple times.

After defeating the monster they will drop an umbrella, using the sewing kit I can recover my health by clicking it and Interacting like an object.

After the sludge monster the player can go left and confront Mama Spider. With this new weapon the player can can attack twice in their turn.

Defeating Mama Spider will trigger new dialogue with Reggie, and can use the key to get through the door.

After beating Mama Spider, Teddy will appear, beating him will result in him dropping premium stuffing, which increases the player's max health.

By interacting with a non-consumable inventory item, the player can interact with an object using it, this is done to unlock the door.

The final room is incomplete, and will include the player's victory screen with their score and time.

After some feedback, we were told that we could do a front and back animation for the player walking, however this would include more time to allow for the animation frames to be made so it's a low priority. I also need to adjust the difficuly of battles, and fix bugs as well as changing some backgrounds. I am pleased with how this game has shaped up over the last month, and despite being far from a finalised peice I feel it does a good job at demonstrating our prototype idea.

Wednesday, 2 March 2016

Life Drawing Task 16

Quick sketches to start off the session:


After this the model walked around and paused in 1 minute intervals, at first I drew a stick figure to capture the pose, but then I tried drew a silhouette and achieved decent results, and doing this also helped with my drawing speed.


Lastly we drew the model in perspective using circular indicators lined up around them:


Personally I believe the best of these was the first perspective drawing, where the circles are properly aligned and shaped which gives a more believable feeling of depth.

Monday, 29 February 2016

Speed Painting: Composition Practice

In this task we watched a video talking about composition and its importance in creating a good looking image. We learnt about focal points, structures, balance and how to incorporate these into practice. We demonstrated our knowledge of composition by speed-painting this picture of a house:


When repainting, we had to recompose the image into an A4 landscape size, and where encouraged to try and make something with it. I produced the following below:


Aside from the lack of high detail, I feel that the composition of this image isn't too bad, the structure involves a subtle use of the rule-of-thirds (although could be more aligned to the crossing points) and there are a couple of leading lines that guide the viewer towards the main focal point: the house. as well as this the house has the most contrast in the image, but is balanced by the shading of the mountains on the left. I am pleased with how this turned out, and if I where to attempt this again I would probably attempt another composition and maybe add more detail overall.